
Sculpted Nail Tips: How to Achieve a Flawless Square Shape
When it comes to nail shapes, the square shape is a classic choice that never goes out of style. It exudes elegance and sophistication, making it a popular choice among women of all ages. If you're looking to achieve a flawless square shape for your sculpted nail tips, you've come to the right place. In this guide, we'll walk you through the step-by-step process to help you achieve the perfect square shape.
Step 1: Prep Your Nails
Before you start shaping your nails, it's essential to prep them properly. Start by removing any existing nail polish and filing your nails to your desired length. Use a gentle buffer to smooth out any ridges or imperfections on the surface of your nails. This will create a clean canvas for your sculpted nail tips.
Step 2: Choose the Right Nail Tip
When it comes to sculpted nail tips, it's crucial to choose the right size and shape that fits your natural nails perfectly. Look for square-shaped nail tips that match the width of your natural nails. This will ensure a seamless and natural-looking result.
Step 3: Apply the Nail Tips
Apply a thin layer of nail glue to the back of the nail tip and carefully place it on your natural nail. Press down gently to ensure a secure bond. Trim the nail tip to your desired length using nail clippers or a nail file. Be sure to leave some length to work with when shaping the square shape.
Step 4: Shape the Square
Now it's time to shape your nail tips into a perfect square. Start by using a nail file to shape the sides of the nail tip. Hold the file at a 45-degree angle and gently file the sides in one direction. Repeat this step on both sides until you achieve a straight and even shape.
Next, file the top of the nail tip to create a flat surface. Hold the file parallel to the nail tip and file in one direction. Be careful not to file too much, as you want to maintain the length and thickness of the nail tip.
Step 5: Refine and Smooth
After shaping the square, it's essential to refine and smooth the edges for a flawless finish. Use a fine-grit buffer to gently buff the edges of the nail tip. This will remove any roughness or unevenness and create a smooth surface.
Step 6: Apply a Top Coat
To seal and protect your sculpted nail tips, apply a thin layer of top coat. This will add shine and durability to your nails, ensuring they last longer. Allow the top coat to dry completely before moving on to any further nail art or polish.
With these simple steps, you can achieve a flawless square shape for your sculpted nail tips. Remember to take your time and be patient, as practice makes perfect. Now you're ready to show off your elegant and sophisticated square-shaped nails!
Excerpt: Achieving a flawless square shape for your sculpted nail tips is easier than you think. Follow these step-by-step instructions to create elegant and sophisticated square-shaped nails that will turn heads wherever you go.
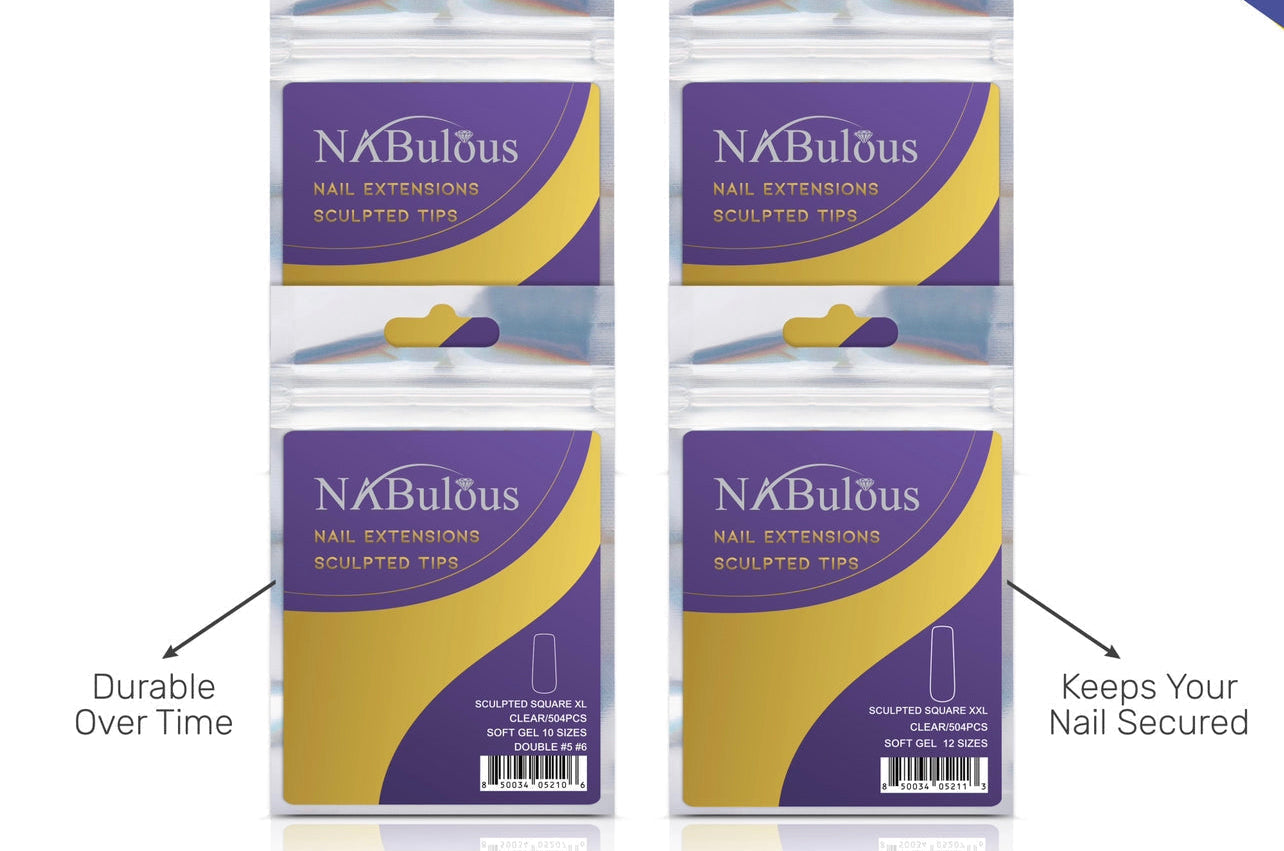
SQUARE Sculpted Refill Tips | Sculpted | NABulous